
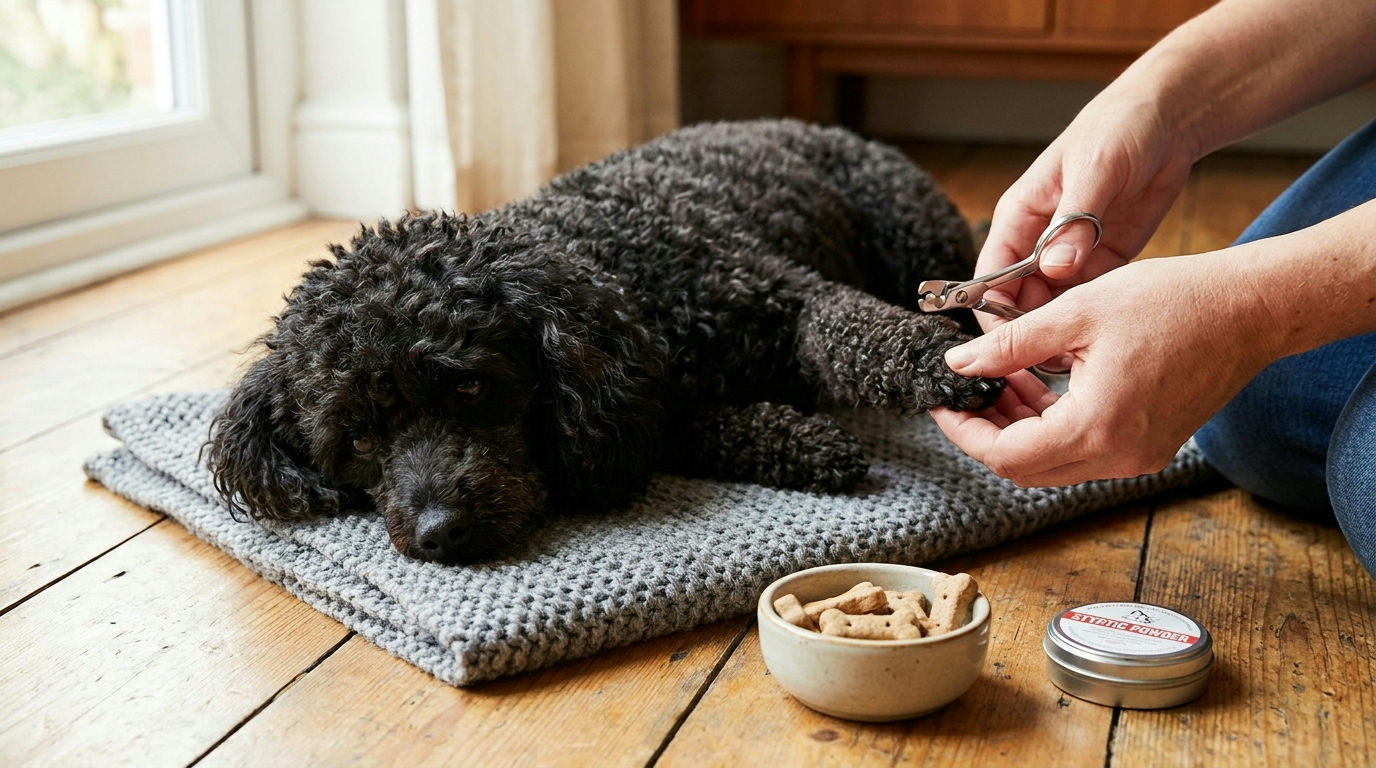
If you share your home with a poodle, you know the kitchen click of long nails. Learning how to trim poodle nails is mostly preparation and patience, not strength. This guide links primary care pages, tools to gather, a slow confidence plan, a thin-slice method, and when to hand the job to a groomer or vet — without restating schedule or injury statistics from memory.
Not veterinary advice: This content is not a substitute for professional veterinary advice, diagnosis or treatment. Always consult your veterinarian about your own dog, especially if a nail is broken, bleeding heavily, swollen or growing into the pad.
Primary sources to read first
- Purdue Center for Animal Welfare Science — Nail trimming for dogs
- PetMD — How to stop a dog’s nail from bleeding
Read those pages for welfare framing, desensitization ideas and bleed first-aid steps. Copy their wording into your notebook rather than inventing intervals or guaranteed outcomes.
Why nail care matters
Long nails can change how a dog stands or walks and can catch on fabric or flooring. Open the Purdue PDF for the welfare points they publish. In practice, every poodle differs: a Standard who walks on pavement may need attention on a different rhythm than a Toy on soft rugs. Check nails while you brush and trim when tips start to touch the floor — ask your vet or groomer for a cadence that fits this dog.
Tools that make trim sessions easier
- Sharp pet nail clippers sized for your poodle (scissor-style suits many dogs).
- A nail grinder as an alternative or finishing tool.
- Styptic powder kept open beside you.
- Small, soft treats your poodle loves.
- Good light and a non-slip mat or towel.
- A helper to offer treats while you trim, if available.
Related: best grooming tools for poodles. Some pages on this site contain affiliate links; this article does not.
Getting to know the quick
Each nail has a living core called the quick. Trim the dead tip in front of it. On pale nails the quick often shows as a pink area. Many poodles have black nails — take very thin slices from the tip and stop when the cut centre looks different. If your dog has mixed light and dark nails, use a light nail as a rough visual guide. Regular short sessions keep nails manageable; ask your groomer to demonstrate once in person if you are unsure.
Build comfort before you clip
The biggest mistake is starting with the clippers. Purdue’s guide recommends letting a dog get used to paw handling, the trimmer and the clipping sound before trimming. Spread short sessions over days:
- Touch a paw briefly, then treat.
- Hold the paw a little longer, then treat.
- Gently press a toe so the nail extends, then treat.
- Let your poodle sniff the clippers, then treat.
- Make the clipping sound nearby without touching a nail, then treat.
Move on only when your poodle is relaxed. See also reducing grooming stress in poodles.
How to trim poodle nails, one at a time
Pick a calm moment after a walk or meal. Keep the first real session very short.
- Get settled on a lap, non-slip table or side-lying mat.
- Hold the paw gently; rest a thumb on the pad.
- Trim a small sliver following the nail’s natural curve.
- Check the cut end; take another thin slice only if the centre still looks like outer nail.
- Reward after every nail at first.
- Remember dewclaws on the inside of each leg if present.
- Stop while it is going well — one or two calm nails is a good first session.
Over time you can do a whole paw, then all four. A dog who learns that trims are quick and rewarding is easier for years.
Clippers or grinder?
Both can work. Clippers are fast and quiet. A grinder removes nail gradually, which some owners prefer on black nails. Introduce the grinder sound from a distance, use short touches, and keep long coat away from the spinning head.
If you cut too short
Stay calm. Follow PetMD’s bleed steps on the page linked above — typically styptic powder and gentle pressure. Then end with a treat and leave remaining nails for another day. If bleeding does not stop, the toe looks injured, or your dog limps or licks afterward, call your vet.
When to call a groomer or your vet
- Panic, snapping or hard struggling even after slow practice.
- Cracked, broken or hanging nails.
- A dewclaw curled toward the skin.
- Red, swollen or foul-smelling toes.
- Nails grown so long you cannot judge the tip safely.
Purdue notes that forcing a fearful dog makes the next session harder. Stopping is not failure. Many groomers trim nails at appointments while you keep practising paw handling at home. See poodle grooming at home.
Checklist: how to trim poodle nails calmly
- Read the Purdue PDF and PetMD bleed page; jot notes.
- Gather clippers or grinder, styptic, treats, light and mat.
- Practise paw handling with treats before any cut.
- Take thin slices; stop when the cut centre changes.
- Reward often; end at the first strong stress signal.
- Book groomer or vet help when needed.
FAQ: how to trim poodle nails
How often should I trim?
Ask your vet or groomer for this dog. Do not copy a generic calendar from a blog — read Purdue’s framing and adjust to lifestyle and nail wear.
What if all nails are black?
Thin slices and good light. Ask a groomer to demo one nail while you watch.
Is a grinder safer?
Some owners find it less nerve-racking; introduce sound slowly and keep coat clear.
Can I use human clippers?
Use pet tools sized for dogs. Ask your groomer which style fits your poodle’s nail thickness.
What about puppies?
Start with handling only. Ask your vet when to begin tiny tip trims for that age.
What not to do
- Do not take one huge cut on a dark nail.
- Do not force a panicked dog into a full set.
- Do not invent styptic “recipes” or doses — follow PetMD and your vet.
- Do not ignore limping after a bleed.
Household coordination
Write who handles nails and who practices paw touches between sessions. Shared dogs get overdue trims when everyone assumes someone else did it.
Keep a tote with clippers, styptic, treats and a towel so you are not hunting tools while the dog waits.
Lighting and posture tips
Side light across the nail tip helps more than overhead glare. Sit where your back and wrists stay comfortable so you do not rush.
After a successful session
Offer water, a short play break and note which nails you finished. Finish remaining nails another calm day rather than pushing through fatigue.
Dewclaws and rear nails
Dewclaws do not wear on pavement the same way. Check them every session. Rear nails can be harder to see — use a helper or shorter sessions.
Building a calm cue
Pick a word like “paws” and always pair it with treats before tools appear. Over weeks the cue predicts snacks, not struggle.
When mats hide the nail
Brush or carefully separate coat first. If mats pull near the toe, stop and ask a groomer — do not cut coat against the skin with kitchen scissors.
Travel and boarding
Ask the boarding facility whether they trim nails and what tools they use. Bring your own styptic and a note of any recent quick hits.
Senior poodles
Older dogs may have thicker nails or arthritis. Ask your vet about positioning and whether clinic trims are kinder than home sessions.
Closing tip
Learning how to trim poodle nails works best as short, rewarded practice — not an emergency bathroom marathon.
This week, open the Purdue nail-trimming PDF, practise three paw-touch treat sessions, and trim only one calm tip — or book a groomer demo if you feel unsure.